How to Photograph the Milky Way With Your Phone: A Beginner's Guide
- Primary Signal: How to Photograph the Milky Way With Your Phone: A Beginner's Guide
- Overview: You do not need a DSLR to capture the Milky Way. Learn how to find dark skies, use your phone's night mode, and stack exposures for a stunning photo of our galaxy....
- Verification: Analyzed and compiled by FreeSky Cosmos editorial monitoring desk.
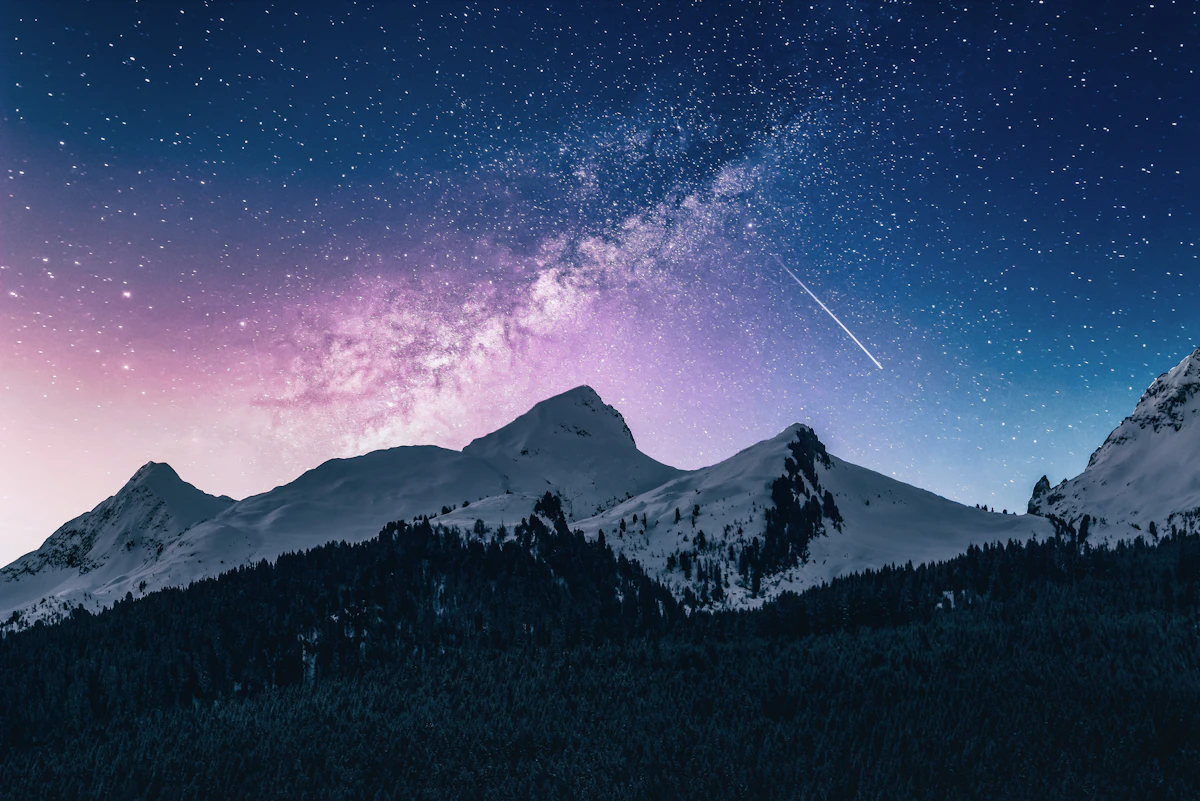
The Milky Way is one of the most photographed sights in the night sky, and for years capturing it required an expensive camera, a fast lens, and a tripod. Modern phones have changed that. Night mode, computational photography, and long-exposure features mean that a recent smartphone on a small tripod can now produce a genuinely beautiful image of the galactic core. The results will not match a full-frame camera, but they are good enough to share, print, and be proud of. This guide explains how to find the Milky Way, set up your phone, and take a photo that does our galaxy justice.
The Milky Way's brightest part, the galactic core, is visible from the Southern Hemisphere year-round and from the Northern Hemisphere from roughly March to October, when it rises in the south-east after dark. Use a stargazing app such as Stellarium to check when the core is above the horizon at your location, and plan for a moonless night, because moonlight washes out the faint band of the galaxy. Darkness matters more than equipment: the Milky Way is invisible from a city, faint from a suburb, and spectacular from a dark-sky site. Check a light pollution map before you travel, and aim for a location at least 50 kilometres from the nearest city. Arrive before dark so you can set up safely, and give your eyes time to adapt.
You will need a tripod or a stable surface, because Milky Way photography requires exposures of 10 to 30 seconds, far too long to hold by hand. A small phone tripod costs under $20 and is the single most useful accessory. Turn off the flash, set the phone to night mode or manual mode if it has one, and use the rear camera, which is always better than the front one. Set the focus to infinity or tap on a bright star to focus, then lock the focus so the phone does not hunt in the dark. Use a remote shutter or the self-timer to avoid shaking the phone when you press the button. If your phone supports RAW capture, turn it on: RAW files hold far more detail for editing later, especially in the faint parts of the galaxy.
The goal is to collect as much light as possible without turning the stars into trails. On most phones, night mode handles this automatically, taking a series of short exposures and combining them. If your phone has a manual or pro mode, set the ISO to 1600 or 3200, the shutter speed to 15 to 20 seconds, and the white balance to around 3500K to keep the sky a natural dark blue. The 500 rule, dividing 500 by your focal length to get the maximum exposure before stars trail, applies loosely to phones, but their wide lenses are forgiving. Take many shots: the best image is often the third or fourth attempt, after you have adjusted the framing. Check each shot by zooming in on the stars; if they look like short lines instead of points, shorten the exposure.
Editing is where a good Milky Way photo becomes a great one. Start by increasing the exposure slightly and lifting the shadows to reveal the dust lanes in the galactic core. Add a touch of contrast and clarity, and warm the white balance slightly if the sky looks too blue. Be careful with noise reduction: too much of it smears the stars, while too little leaves the sky grainy. Apps such as Lightroom Mobile, Snapseed, and the iPhone's built-in editor all work well, and Lightroom's masking tools let you brighten the Milky Way without brightening the foreground. Export at the highest quality, and share the location and settings with your photo: other beginners will appreciate knowing exactly how you did it, and the astrophotography community is generous with advice.
Can I photograph the Milky Way with any phone? Recent phones with night mode work well. Older phones without night mode will struggle. When is the best time to photograph the Milky Way? From March to October in the Northern Hemisphere, on a moonless night under dark skies. Do I need a tripod? Yes. Exposures of 10 to 30 seconds are impossible to hold by hand. What settings should I use? ISO 1600 to 3200, 15 to 20 second exposure, and focus locked on infinity. Can I photograph the Milky Way from a city? No. Light pollution hides the galaxy; you need dark skies at least 50 kilometres from a city.
More from FreeSky Cosmos