Moon Phases Photography Tips: Shoot the Moon in Every Phase
- Primary Signal: Moon Phases Photography Tips: Shoot the Moon in Every Phase
- Overview: The Moon is the easiest night-sky subject to photograph well, and every phase offers a different picture. This guide covers settings, timing, and composition for crescent, full, an...
- Verification: Analyzed and compiled by FreeSky Cosmos editorial monitoring desk.
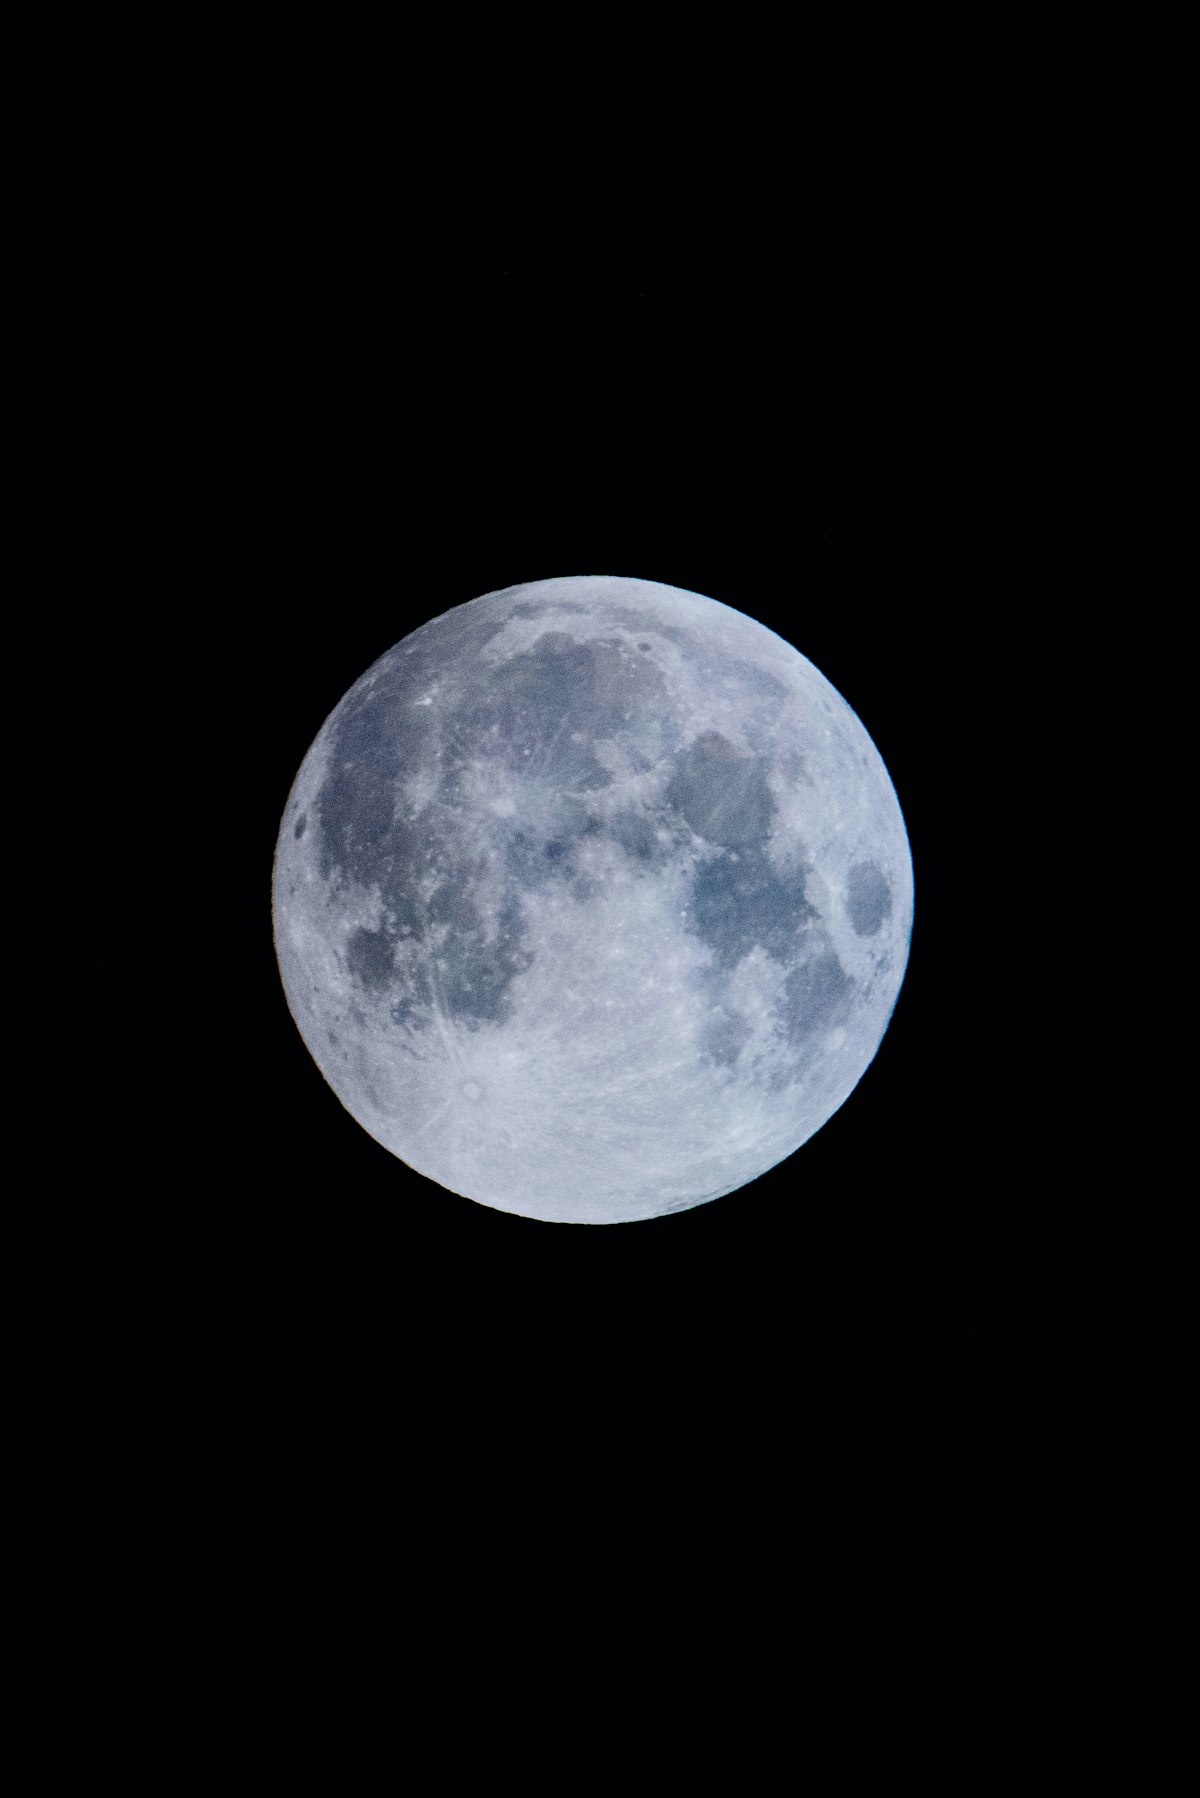
The Moon is the most forgiving subject in night photography: it is bright, predictable, and visible from almost anywhere, yet most first attempts come out as a featureless white disc. The reason is exposure. Cameras meter for the dark sky and overexpose the Moon, while the best lunar photographs treat the Moon as a sunlit landscape, which is exactly what it is, and expose for its bright surface. Once that clicks, every phase becomes a different photographic opportunity.
The Moon's phases are simply geometry: as the Moon orbits Earth, the Sun lights different portions of the face we see. New Moon is dark and near the Sun, crescent phases show a sliver growing each evening, first quarter shows a half Moon, gibbous phases are mostly lit, and full Moon shows the whole face. Each phase has its own light quality, and the most dramatic detail appears not at full Moon but along the terminator, the line between light and dark, where low sunlight throws long shadows across craters and mountains.
Start in manual mode with the Loony 11 rule: aperture f/11, shutter speed at the reciprocal of your ISO, so ISO 100 gives 1/100s, ISO 200 gives 1/200s. That baseline usually produces a correctly exposed Moon, and you can adjust from there. Use the longest focal length you have, at least 200 millimetres for a satisfying disc, and a tripod plus a two-second timer or remote release to eliminate shake, since even small vibrations blur lunar detail at long focal lengths.
Crescent Moons are arguably the most photogenic: earthshine, sunlight reflected from Earth onto the dark part of the Moon, can reveal the whole disc faintly alongside the bright crescent, and the thin crescent pairs beautifully with twilight colours and foreground silhouettes. First and last quarter Moons show the most dramatic crater shadows along the terminator, making them the best phases for detailed surface photography.
A lone Moon in a black sky gets repetitive, so compose with foregrounds: trees, buildings, mountains, or water reflections give scale and story. For maximum detail, take many frames and stack them with free software such as Registax or AutoStakkert, which averages out atmospheric turbulence and noise; even a dozen frames can visibly sharpen crater detail. A teleconverter or a telescope with a camera adapter takes you further, but only after you have mastered the basics.
📖 Continue Reading the Full Story
Continue reading this article on FreeSky Cosmos.
⚡ Access Full Content NowMore from FreeSky Cosmos
 🤖 WinBar AI
Can Missed-Call Text-Back Save Tipster Services Losing Subscribers?
A subscriber calls before kickoff, hits voicemail, and cancels by full time. How instant missed-call text-back...
 🛰️ FreeSky Aerial
How to Carry Medications on International Flights: 2026 Rules
Flying with medication in 2026? This guide covers carry-on rules, the 100 ml exemption for liquid medicines, l...
 ⚡ CyberTech 568
Best Free AI Voice Changer for Gaming in 2026
A good voice changer adds fun to game night without lag or robotic audio. Compare the best free options for Di...
 ☁️ FreeSky Cloud
Best Free Tier Cloud Hosting 2026: Host Projects Without Paying
Compare the best free tier cloud hosting options for 2026, including what is genuinely free, what limits apply...