Dark Sky Sites Near Cities: How to Escape Light Pollution
- Primary Signal: Dark Sky Sites Near Cities: How to Escape Light Pollution
- Overview: You do not have to travel to a desert to see a dark sky. Here is how to find a darker observing spot near your city, read light pollution maps, and make the most of the trip....
- Verification: Analyzed and compiled by FreeSky Cosmos editorial monitoring desk.
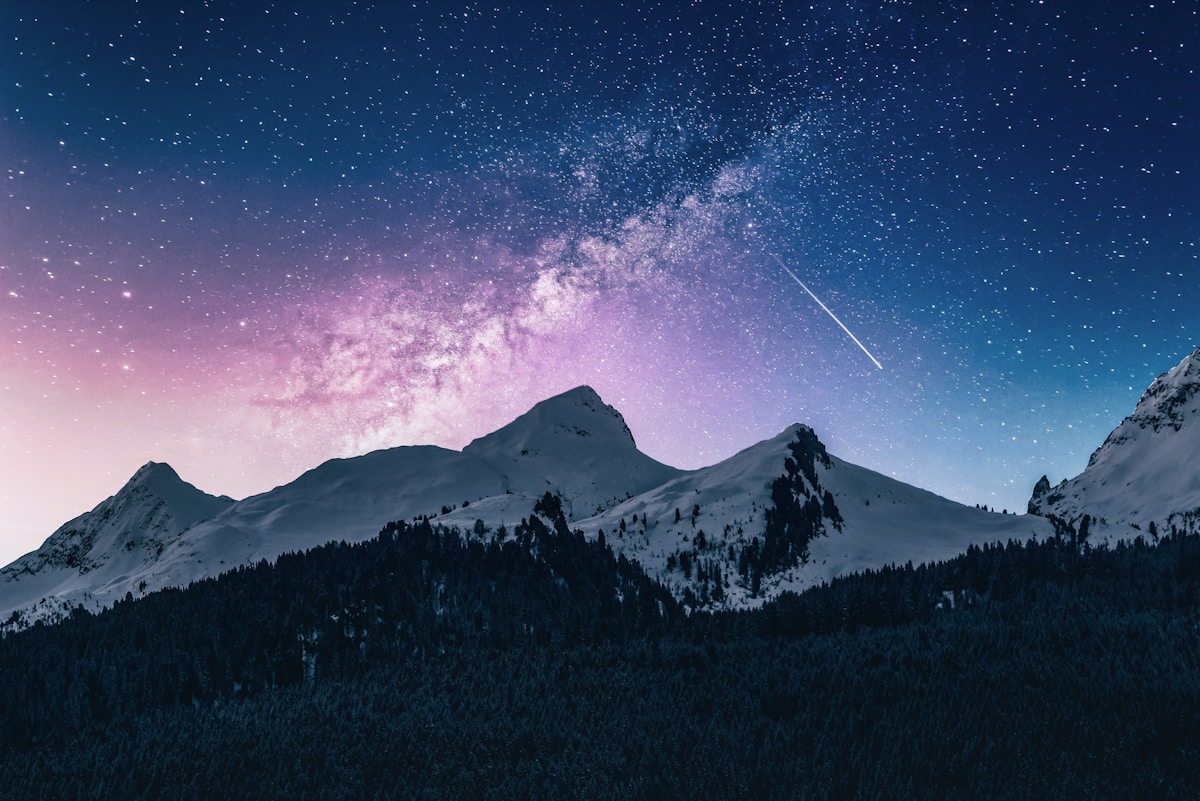
City lights wash out the night sky, but you do not need to drive hundreds of miles to see a genuinely dark sky. Most people live within an hour or two of a spot that is dramatically darker than their backyard, and the difference can be startling: from a city centre you might see a few dozen stars, while from a dark site an hour away you can see thousands, plus the Milky Way stretching overhead. Finding that nearby dark spot is one of the highest value skills in amateur astronomy, and it costs nothing but a little planning.
Start with a light pollution map, which colours the landscape from white and red in cities down to black and grey in truly dark areas. Look for blue, green, or grey zones within easy driving distance, and pay attention to the direction of nearby towns, because a site that is dark overhead but glows on one horizon still works well for most observing. State parks, reservoirs, hilltops, and rural car parks often sit in surprisingly dark pockets, and many astronomy clubs publish lists of recommended sites that have already been tested for safety and access.
When you pick a site, think about more than darkness. A safe place to park, a flat area to set up, and permission to be there after dark matter just as much. Arrive before sunset so you can scout the ground in daylight, check for uneven terrain or livestock, and set up while you can still see. Tell someone where you are going, bring a phone charger, and dress warmer than you think you need, because standing still under a clear sky gets cold fast even on mild evenings.
Astronomers describe sky darkness with the Bortle scale, which runs from Class 1, a pristine desert sky, to Class 9, an inner city sky. Most suburbs sit around Class 6 or 7, where only the brightest stars and planets show. Dropping just two classes, to Class 4 or 5, transforms the view: the Milky Way becomes visible, star clusters resolve into individual stars, and faint nebulae start to appear in binoculars. You do not need Class 1 perfection to have a great night; even a modest improvement over your backyard is worth the drive.
Check the Moon before you go, because a bright Moon washes out faint objects almost as effectively as streetlights. The best nights are the week around new Moon, when moonlight is absent and the sky is at its darkest. If you can only go on a moonlit night, focus on the Moon itself and the planets, which are bright enough to enjoy regardless, and save the faint galaxies and nebulae for a darker evening.
Once you arrive, protect your night vision fiercely. It takes about twenty to thirty minutes for your eyes to fully adapt, and a single glance at a bright white phone screen can reset that adaptation in seconds. Use a red torch or your phone's red night mode, keep car headlights off where possible, and ask companions to do the same. Experienced observers often wear an eye patch over one eye while setting up, then remove it to observe with a fully adapted eye.
Finally, be a good neighbour at dark sites. Keep noise down, take all rubbish home, and avoid shining lights around. Many of the best informal observing spots survive because visitors treat them respectfully, and landowners who feel respected are far more likely to keep access open. Share what you find with local astronomy groups, and you will often discover even better sites, plus company for your next trip under truly dark skies.
📖 Continue Reading the Full Story
Continue reading this article on FreeSky Cosmos.
⚡ Access Full Content NowMore from FreeSky Cosmos
 🛰️ FreeSky Aerial
How to Carry Medications on International Flights: 2026 Rules
Flying with medication in 2026? This guide covers carry-on rules, the 100 ml exemption for liquid medicines, l...
 ⚡ CyberTech 568
Internet Latency Test: How Fast Is Your Connection?
Test your internet latency free. Get accurate ping measurements and learn what your numbers mean for gaming an...
🤖 WinBar AI
Instagram Reels Downloader for PC: Save Reels Free Online
Download Instagram Reels to your PC free — no app, no login. Paste the reel link and save in HD quality straig...
 ☁️ FreeSky Cloud
ROI & Value Audit: GST Calculator — Add or Extract GST & VAT (Day 15 Guide)
How to save time and eliminate guesswork with GST Calculator — Add or Extract GST & VAT on FreeSky Cloud. Disc...